
Residential window systems rely on an intricate network of mechanical hardware to open, close, seal, and lock effectively. Over years of operation, components such as casement operators, awning hinges, sliding sash locks, and balance assemblies endure continuous friction, physical stress, and exposure to seasonal outdoor elements. When window hardware deteriorates, windows become difficult to operate, fail to create airtight perimeter seals, or present significant home security vulnerabilities. Understanding how window mechanisms function, recognizing signs of mechanical wear, and executing timely component replacements restores smooth functionality, enhances household energy efficiency, and extends the overall operational life of residential window frames.
The Structural Role of Residential Window Mechanisms
Window performance involves more than just intact glass panes and insulated frame profiles. Operable windows depend entirely on integrated mechanical hardware to control sash movement, support panel weight, and pull perimeter weather seals tight against air and water intrusion.
Window Configuration
Primary Operating Mechanism
Essential Functional Components
Casement Windows
Rotary gear drive operators with side-hinged swinging arms.
Worm gear operators, folding crank handles, multi-point lock bars, and heavy-duty friction hinges.
Awning Windows
Top-hinged scissor arm operators expanding outward from the bottom frame threshold.
Dual-arm scissor operators, locking handles, side hinge tracks, and weather seals.
Single and Double-Hung Windows
Vertical sliding counter-balance assemblies housed inside side jamb pockets.
Block and tackle balances, constant force coil springs, sash cams, and sweep locks.
Horizontal Sliding Windows
Bottom roller wheel assemblies moving along raised base track rails.
Brass or nylon tandem rollers, aluminum track caps, sash guide fins, and latch blocks.
Proper mechanical tension and component alignment are necessary to ensure that window sashes seal uniformly against frame weather stripping. When mechanical parts wear down, gaps form around the sash perimeter, allowing drafts, moisture, and noise to infiltrate the home.
Common Signs of Mechanical Window Degradation
Window mechanisms rarely fail without warning. Identifying subtle operational changes early prevents localized hardware fatigue from warping window frames or breaking glass units.
Sticking, Binding, or Resistance During Crank Operation
In casement and awning windows, turning a crank handle should feel smooth and linear. If the handle resists rotation, jumps gear teeth, or slips completely, the internal worm gear drive or gear teeth on the operator arm are stripped. Forcing a binding crank handle exerts destructive torque on hinge pivots, which can warp the window frame or dislodge sash anchors.
Sash Sagging and Frame Misalignment
When a casement sash sags, its top corner tilts inward while the bottom edge drags across the lower frame threshold. This issue stems from worn hinge pivots, loose mounting screws, or bent hinge arms. In sliding or hung windows, worn sash balances allow vertical windows to drop unexpectedly, creating safety hazards for household occupants.
Failure of Locking Hooks and Keepers
Multi-point locking systems utilize vertical tie bars equipped with multiple locking rollers or hooks that engage matching keepers along the frame jamb. If the window frame shifts slightly or the tie bar mechanism buckles, locking pins will fail to line up with their keepers. This alignment failure prevents the window from pulling tight against perimeter weather seals, leaving the sash unlatched and insecure.
Comparing Window Hardware Replacement Options
Restoring window functionality requires matching replacement hardware to exact frame profiles, operator types, and arm dimensions.
Replacement Component
Mechanical Purpose
Common Failure Factors
Performance Outcome After Upgrade
Rotary Crank Operators
Translates rotational handle force into linear arm extension to push sashes open.
Stripped internal gears, rusted drive spindles, snapped arm rivets.
Restores effortless crank operation and consistent opening angles.
Multi-Point Locking Bars
Secures sash at multiple vertical points using a single interior control lever.
Bent tie bars, sheared keeper pins, misaligned jamb brackets.
Re-establishes positive perimeter latching and improves security.
Sash Balance Assemblies
Counterbalances window sash weight in double-hung vertical windows.
Snapped balance cords, fatigue in coil springs, broken plastic shoes.
Keeps vertical sashes stationary at any height without falling.
Friction Hinges and Tracks
Supports outward swing weight while providing controlled wind resistance.
Debris in hinge tracks, oxidized stainless steel rivets, bent slide shoes.
Eliminates sash sag and ensures uniform frame clearance.
Step-by-Step Window Mechanism Replacement Process
Replacing worn window hardware involves precise diagnostic evaluation, careful sash disassembly, component installation, and mechanical calibration.
Restoration Phase
Necessary Tools & Materials
Core Technical Objective
1. Diagnostic Inspection
Screwdriver, tape measure, putty knife, safety glasses.
Identify exact operator type, hand orientation (left/right), and track style.
2. Sash Disassembly
Drill, driver bits, wood shims, support blocks.
Safely unbolt operator arms and hinge pivots to release sash from frame.
3. Hardware Extraction
Needle-nose pliers, solvent cleaner, rags.
Remove rusted fasteners, extract broken gear boxes, and clean track channels.
4. Component Installation
Replacement hardware, structural wood screws, silicone spray.
Mount new operator, align hinge tracks, and secure locking keepers.
5. Calibration & Sealing
Screwdriver, level, silicone sealant.
Adjust sash plumbness, calibrate lock tie bars, and test perimeter seals.
Step 1: Component Identification and Handing Assessment
Before ordering replacement parts, technicians determine the exact mechanism specifications. Casement operators are handed specifically as left-hand or right-hand units based on which side of the frame houses the hinges when viewed from the interior. Measuring arm lengths, hole pattern dimensions, and track offset dimensions is essential to ensure new hardware fits pre-drilled frame cutouts.
Step 2: Safe Sash Removal and Frame Preparation
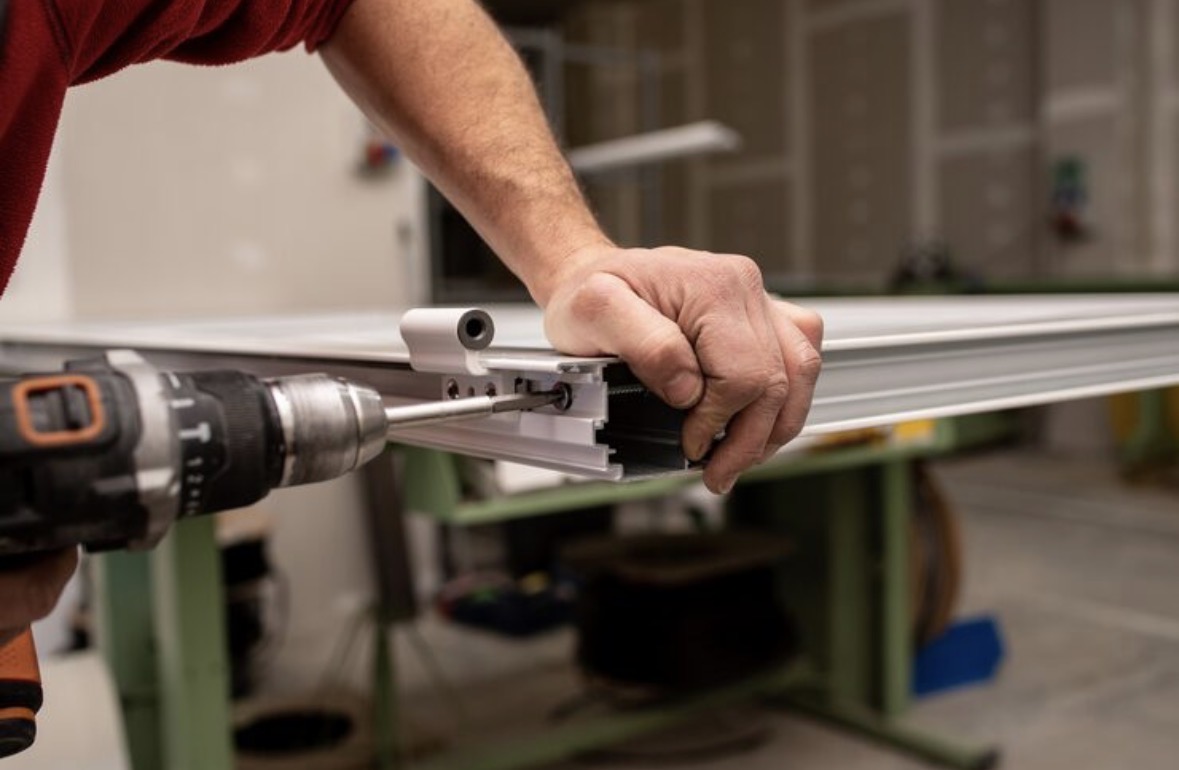
For casement windows, support blocks are placed beneath the open sash to prevent it from dropping. Technicians detach the operator slider shoes from the sash track by releasing detent clips or unbolting arm pivots. The hinge screws are then carefully removed from the frame. The exposed frame track is cleaned of dirt, old grease, and oxidation to prepare mounting surfaces for replacement components.
Step 3: Installing the New Operator and Hinge Assemblies
The new rotary operator is positioned into the frame cutout, ensuring the drive spindle aligns cleanly with the interior trim cover. Structural fasteners are driven into original or reinforced pilot holes. Replacement top and bottom friction hinges are anchored to the frame, ensuring top and bottom tracks remain parallel to prevent binding during movement.
Step 4: Sash Re-attachment and Mechanical Calibration
The window sash is lifted back into position, re-attached to the hinge arms, and re-connected to the operator push arms. Technicians adjust setting screws on the hinge slide shoes to calibrate sash height and tilt until perimeter gaps are uniform on all sides.
When homeowners experience drafty windows, sticking crank handles, or broken sash balances, sourcing professionalwindow hardware repairensures proper component matching, exact sash calibration, and watertight perimeter sealing.
Energy Efficiency and Home Security Impact
Replacing degraded window mechanisms provides benefits that go beyond simple ease of operation. Properly functioning hardware directly affects indoor thermal control and overall home security.
When multi-point locks engage fully, they pull the window sash firmly against elastomeric perimeter seals. This tight seal stops cold air infiltration during winter months and prevents air conditioning loss during summer, reducing HVAC workloads. Furthermore, robust mechanical locks present an effective barrier against forced entry, ensuring exterior windows lock securely when closed.
Recommended Maintenance Practices for Window Mechanisms
Routine maintenance preserves mechanical components, prevents gear teeth wear, and keeps window mechanisms operating smoothly year-round:
- Bi-Annual Cleaning of Tracks and Arms:Vacuum dust, sand, and dead insects out of bottom hinge tracks and operator arm channels every spring and autumn.
- Apply Dry Lubricants: Spray rotary gears, pivot rivets, and sliding shoes with a dry silicone or PTFE lubricant. Avoid heavy oil or grease, which attracts dirt and forms an abrasive paste inside gear teeth.
- Inspect Weather Stripping Condition:Check rubber perimeter seals when cleaning window hardware. Replace hardened, torn, or flattened seals to maintain airtight contact when sashes are locked.
- Avoid Over-Tightening Handles: Once a window sash is fully pulled into its frame, stop cranking the handle. Forcing a closed crank puts extreme stress on internal gear teeth, leading to premature operator failure.
By maintaining clean hardware tracks, replacing worn operators promptly, and ensuring proper sash alignment, property owners preserve window functionality, maintain comfortable indoor temperatures, and extend the performance life of their residential window investments.